
Padlock Documentation
Be sure to enable the subtitles of this tutorial video
Scroll down on this page to see the step-by-step documentation
Thanks to this feature you will be able to lock your app wholly or partly. The locked content will be accessible for authorised users only. We are going to see how to set up this feature.
First, you have to add the Padlock feature to your app, click on  from “Add pages” to add this feature to your app:
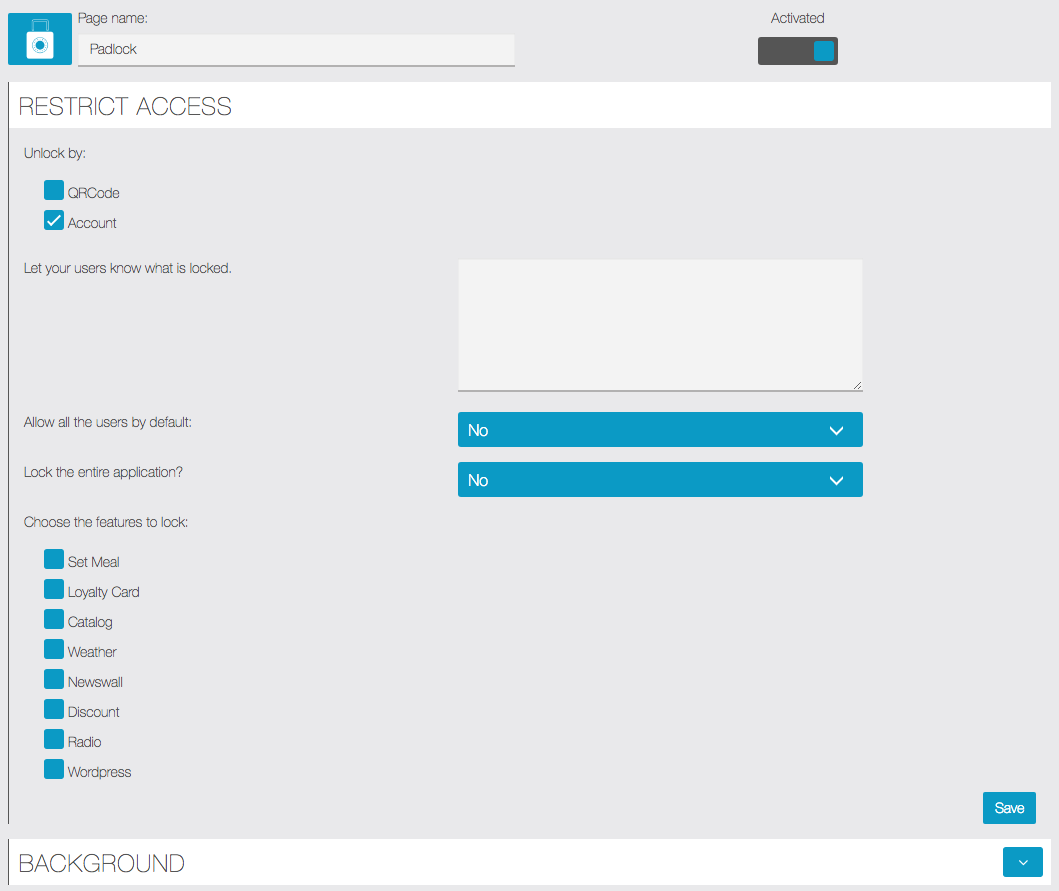
Unlock by:
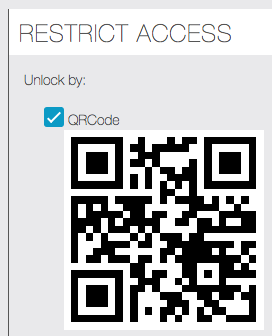
- “QRCode“: Generate a QRCode that, once scanned, will unlock the padlock:
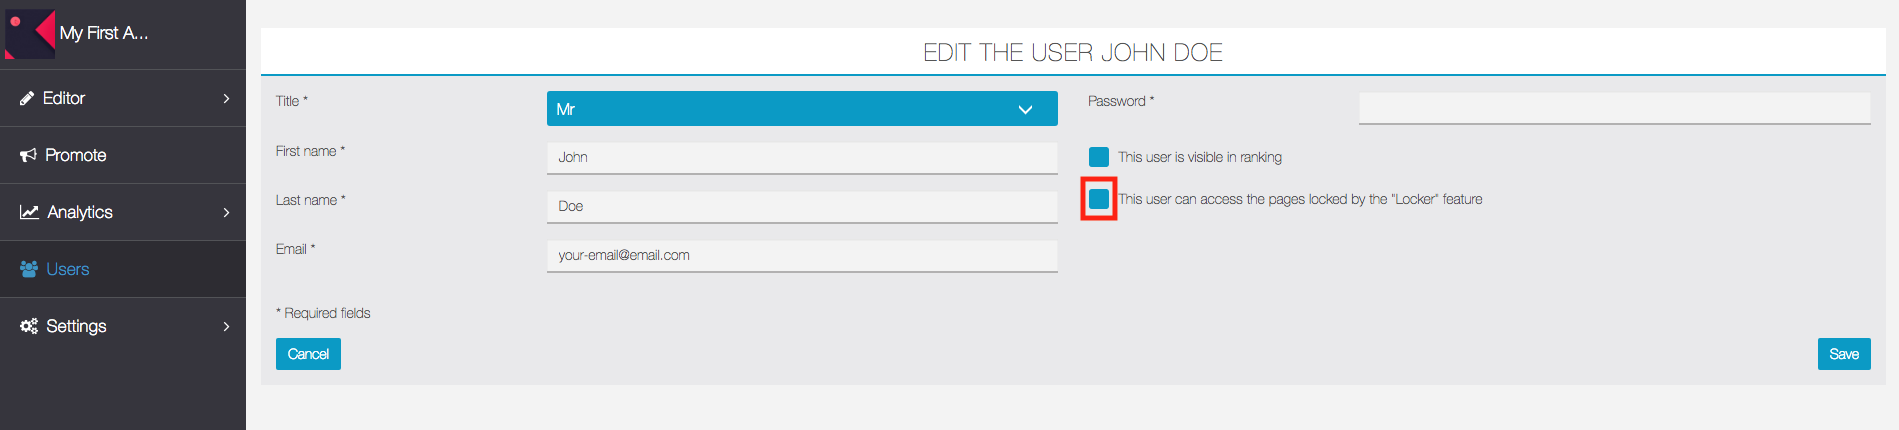
- “Account“: Unlock the padlock to some accounts. You have to allow accounts manually in the “Users” tab:
- “Allow all the users by default“: If you select “yes”, all users who have already an account on your app, or users who create an account on your app, will have access to the locked content. If you let on “no”, that means you will have to authorize your users manually from the “Users” menu.
- “Lock the entire application?“: If you choose “yes”, your whole app will be blocked. With this option you can create a private app. It’s useful, for example, to force your users to create accounts, if you set “Allow all the users by default” and “Lock the entire application” to “yes”. If you choose “no”, you will just block some pages of your app.
- “Choose the features to lock“: Here you can check the features you want to lock with Padlock, if you set “Lock the entire application?” to “no”.
WARNING: Before submitting an app, create a user (without mentioning “test” or “demo”) with authorized access. Then, when you publish your app on iTunes Connect just fill out these info in the user demo fields to let Apple reviews what is behind the padlock feature.
You can change the background of this feature in the “Background” tab:
